
Have you ever wondered whether you could install your Linux OS on a hard drive without having to use a partition table? If you are sane, probably not. You should probably never do this. I was recently challenged by a friend who claimed that it was either impossible to do so or would result in inevitable corruption.
The first assumption was that a functioning MBR would be required so that I would need two drives. One to house ‘/boot’ and swap partitions, and another drive that would contain the ‘/’ directly on the drive with no partition table. This turned out to be quite easy. So instead I decided to go the whole way and install the entire OS on one drive with no partitions.
I ran the Ubuntu Server 16.04.03 install process right up until the disk partitioning section.
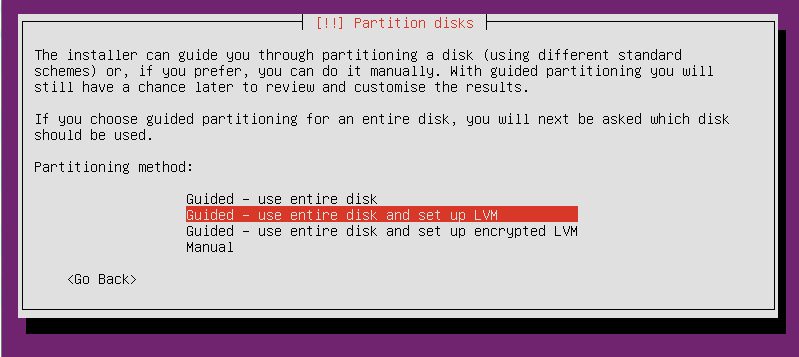
On the ‘Partition disks’ screen, do not select the Guided or Manual. Instead press Alt-F2 to get a console.
Please press Enter to activate this console.
After pressing <ENTER>, you will get a BusyBox shell prompt. Get a list of drives:
# ls -al /dev/sd*
brw------- 1 root root 8, 0 Aug 30 14:11 /dev/sda
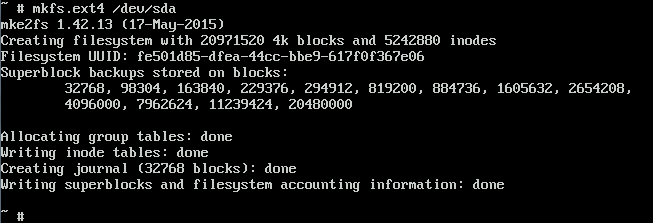
Next put an ext4 filesystem on the drive. This will wipe out the partition table on the drive if one already exists.
# mfks.ext4 /dev/sda
Press ‘Alt-F1’ to go back to the Ubuntu installer. Again, do not select either Guided or Manual options. We need the Ubuntu installer to reload the disk information. Instead, select the “Go Back” option and then select “Partition disks” from the Ubuntu installer main menu.
The newly created file system will now show up labeled as #1. Select it and configure it to be used as an ‘Ext4 journaling file system’ with the ‘/’ mount point.


Once you are done “partitioning” the disk, select ‘Finish partitioning and write changes to disk’. Say ‘No’ when it warns you about having no swap partition. Say ‘Yes’ to writing the changes to disk.
Continue to the install. When the installer asks you to install the GRUB boot loader, you can select “Yes”. This will fail.

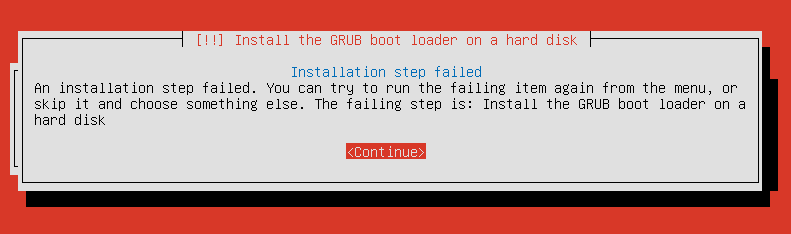
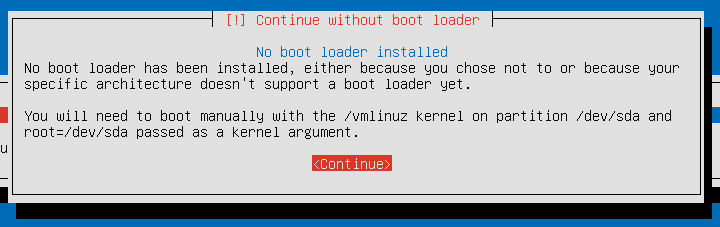
Continue without the boot loader.
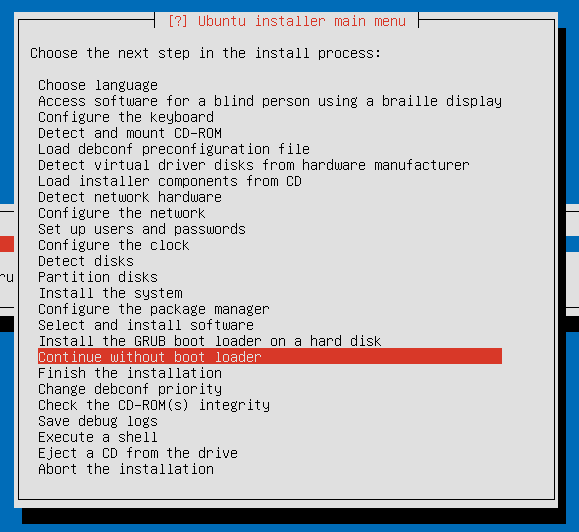
It will warn you that no boot loader has been installed and that you will need to boot manually. Don’t worry about this for now, as we’ll be installing grub manually shortly.
Finish the process up until you get the “Installation complete” message.
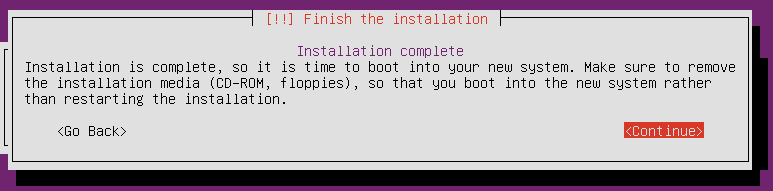
Do NOT click “Continue”. Instead, select “Alt-F2” again, taking us back to the console prompt that we were at previously. We need to start a chroot session on the new root file system.
# chroot /target /bin/bash
Next we attempt to install grub.
# grub-install /dev/sda
Installing for i386-pc platform.
grub-install: warning: File system `ext2' doesn't support embedding.
grub-install: warning: Embedding is not possible. GRUB can only be installed in this setup by using blocklists. However, blocklists are UNRELIABLE and their use is discouraged..
grub-install: error: will not proceed with blocklists.
GRUB installs itself in stages. The first stage goes into the MBR around the partition table and is just big enough to find the next stage in the process. However, in this scenario, the extra space used for the later stages is not available because it is being taken up by the file system. So GRUB must explicitly list the physical blocks that contain the next stage. In this case that is /boot/grub/i386-pc/core.img. However, if that file ever changes or physically moves on the disk, GRUB will no longer be able to boot. We must make sure it cannot change. To fix this, execute the following commands:
# grub-install /dev/sda --force # force grub to install using blocklists
# chattr +i /boot/grub/i386-pc/core.img # Mark the file as immutable
Now that this is done, press ‘Alt-F1’ and choose ‘Continue’. Once it reboots, it should enter your shiny new system on a drive with no partition. Enjoy!
So how does this actually work? The ext4 file system does not use the first 512 bytes, so when GRUB installs itself on the drive’s MBR, it isn’t actually overwriting any data that is being used by the file system. The only caveat is that the BIOS may refuse to boot from a drive’s MBR if there is no partition table. The only way to know if it will work is to try it out. If that happens, you’ll have to use two drives. Partition the first drive with ‘/boot’ and ‘swap’ partitions and use the raw device of the second drive. Alternatively just boot off a USB drive.
Just keep in mind that each time you need to update grub (e.g. for a new kernel), you’ll need to run the following commands:
# chattr -i /boot/grub/i386-pc/core.img
# grub-install /dev/sda --force
# chattr +i /boot/grub/i386-pc/core.img
Thanks for the awesome post! Since reading this I’ve updated all my Gentoo and Mandriva installs to use partitionless block devices. Life couldn’t be better for me, now, since I have so much free time on my hands.
Cheers
Dumb noob question: I’m somewhat confused about the purpose of this. I suppose you’ve saved <1 megabyte of space, but suppose you need to install another os… wouldn't any other system see your HDD as uninitialized, and automatically overwrite your data?
I was going to write another post on this very question, but never got around to it. The power of this approach comes when you add whole-disk encryption of a boot drive. I’ve seen security researchers discuss various forms of whole-disk encryption, but in every case it isn’t real whole-disk encryption. They encrypt everything except the MBR.
This approach allows you to encrypt the entire drive without using an MBR. I did a proof of concept of this and it worked. Why does this matter? Because it makes you more resilient to various attack including installing a small piece of software (a keylogger perhaps?) into the MBR and leaving the encrypted file system untouched.
Now, you might say, the header for an encrypted file system is stored unencrypted, and you’d be correct. So this process must again be extended to use a separate drive (a USB stick) to store the header, leaving only data on the hard drive. With nothing unencrypted on the hard drive, this makes it incredibly difficult to install rogue software on the hard drive. This also adds an additional level of protection where the attacker needs both the USB drive AND the hard drive.
There are more details to this, but as far as I can tell, this is one of the most secure setups you can do without using exotic hardware solutions.